Journal Entry 2
Date: 4.3.2024
Activity:
⁃ Modified the game according to the 2D Game Kit Walkthrough-Unity Learn tutorial.
-> Creating a New Scene
-> Painting a Level
-> Testing Your Level
-> Adding a Moving Platform
-> Opening a Door with Events
-> Enemies
-> Damaging
-> Decorating
Notes:
After installing the 2D Game Kit, I started learning 2D Game Kit Walkthrough-Unity Learn tutorial. Following this tutorial, I studied the creation of a game scene for any 2D game.
The tutorial starts with setting the first scene for my game. I used the Tile Palette for this. After quickly sketching the land was done, I got a ready-made map for the game. The next step in the tutorial was to add a MovingPlatform to get some kind of barrier. The platform moves in a cycle. To do this, I added 4 nodes that create the final corners to complete the circle of the platform. According to the tutorial, the next action was to make the event that opened the door. The door opens when the PressurePad is pressed. To create such an event, it was necessary to add a new event to the On Pressed list, which will animate the door opening. One of the main points of each game is the Enemies (if they are needed for this game). I changed their size and range of visibility. To destroy such enemies, you can kill them with the help of skills or use items that cause damage. Such an item can be created using PushableBox in the Scene View. I added a new Damager component that will cause fatal damage to the enemy. And the most interesting part of every game is the decoration. To do this, I used all the resources that were presented in the tutorial package.
Invested hours:
• Tutorial: 3 h 07 min
• Some searching: 30 min
⎯⎯⎯⎯⎯⎯⎯⎯⎯⎯⎯⎯⎯⎯⎯⎯⎯⎯⎯⎯⎯⎯⎯⎯⎯⎯⎯⎯⎯⎯⎯⎯⎯⎯⎯⎯⎯⎯⎯⎯⎯⎯⎯⎯⎯⎯⎯⎯⎯⎯⎯⎯⎯⎯⎯⎯⎯⎯⎯⎯⎯⎯⎯⎯⎯
Date: 5.3.2024
Activity:
⁃ Continued to modify the game according to the 2D Game Kit Walkthrough-Unity Learn tutorial.
-> Teleporting
⁃ Decoration of "MyZone 1" for the first scene of the game
- Created "MyZone 2" for the second scene of the game
Notes:
On this day, I continued to pass the 2D Game Kit tutorial. I had to finish teleporting the character to another location in the game. For the starting point of teleportation, I added the TransitionStart Prefab to the Scene View and placed the object at the starting position of teleporting. To do this, I found the Transition Start list in the Inspector and set the object that performs teleportation and set the location of the final teleportation point at another level of the game. The next step was to add the final teleportation point. To do this, I added a TransitionDestination object to the final location in the scene where I want to teleport to. I dragged this object to Scene View and in the settings I needed to find the SceneTransition Destination component in the Inspector and I had to configure the character who performs teleportation. And most importantly, in the end, this scene was added to the project Build.
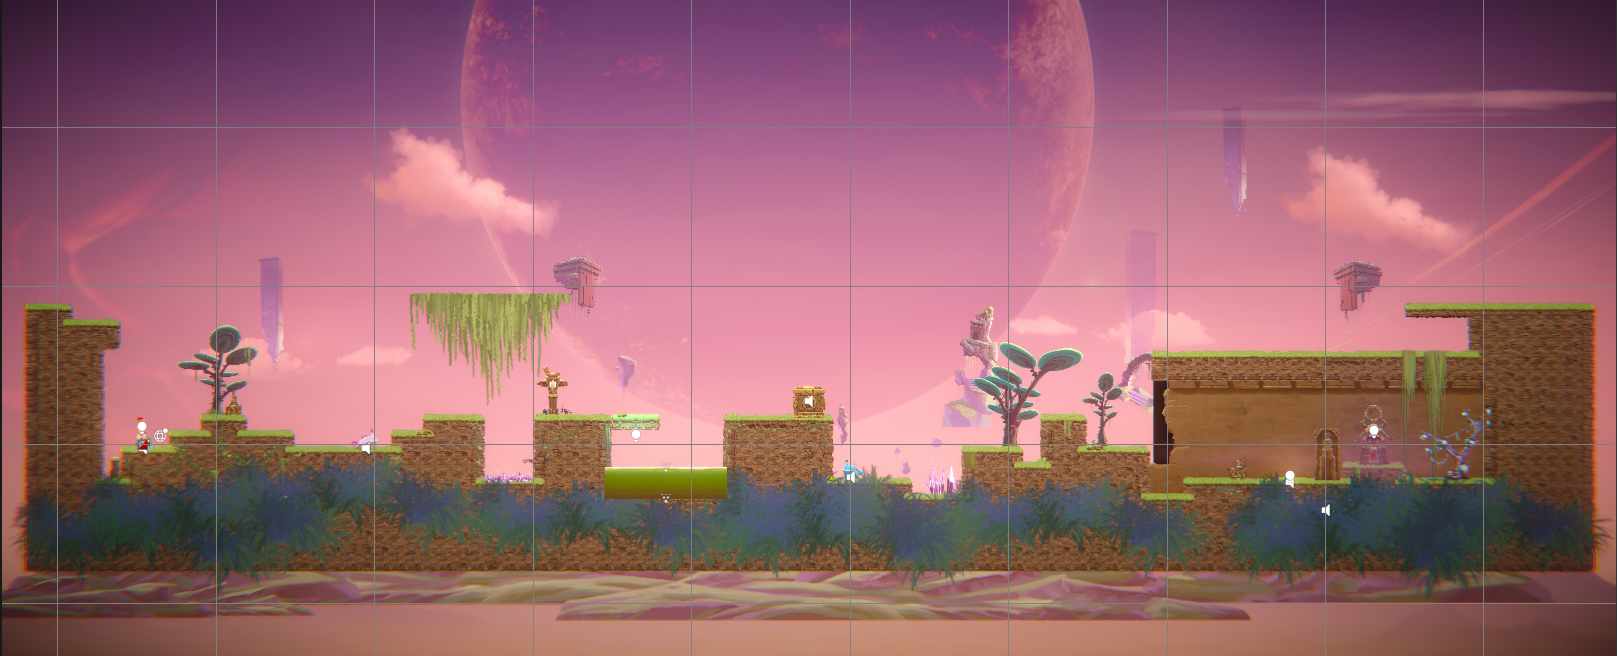
- "MyZone 1"
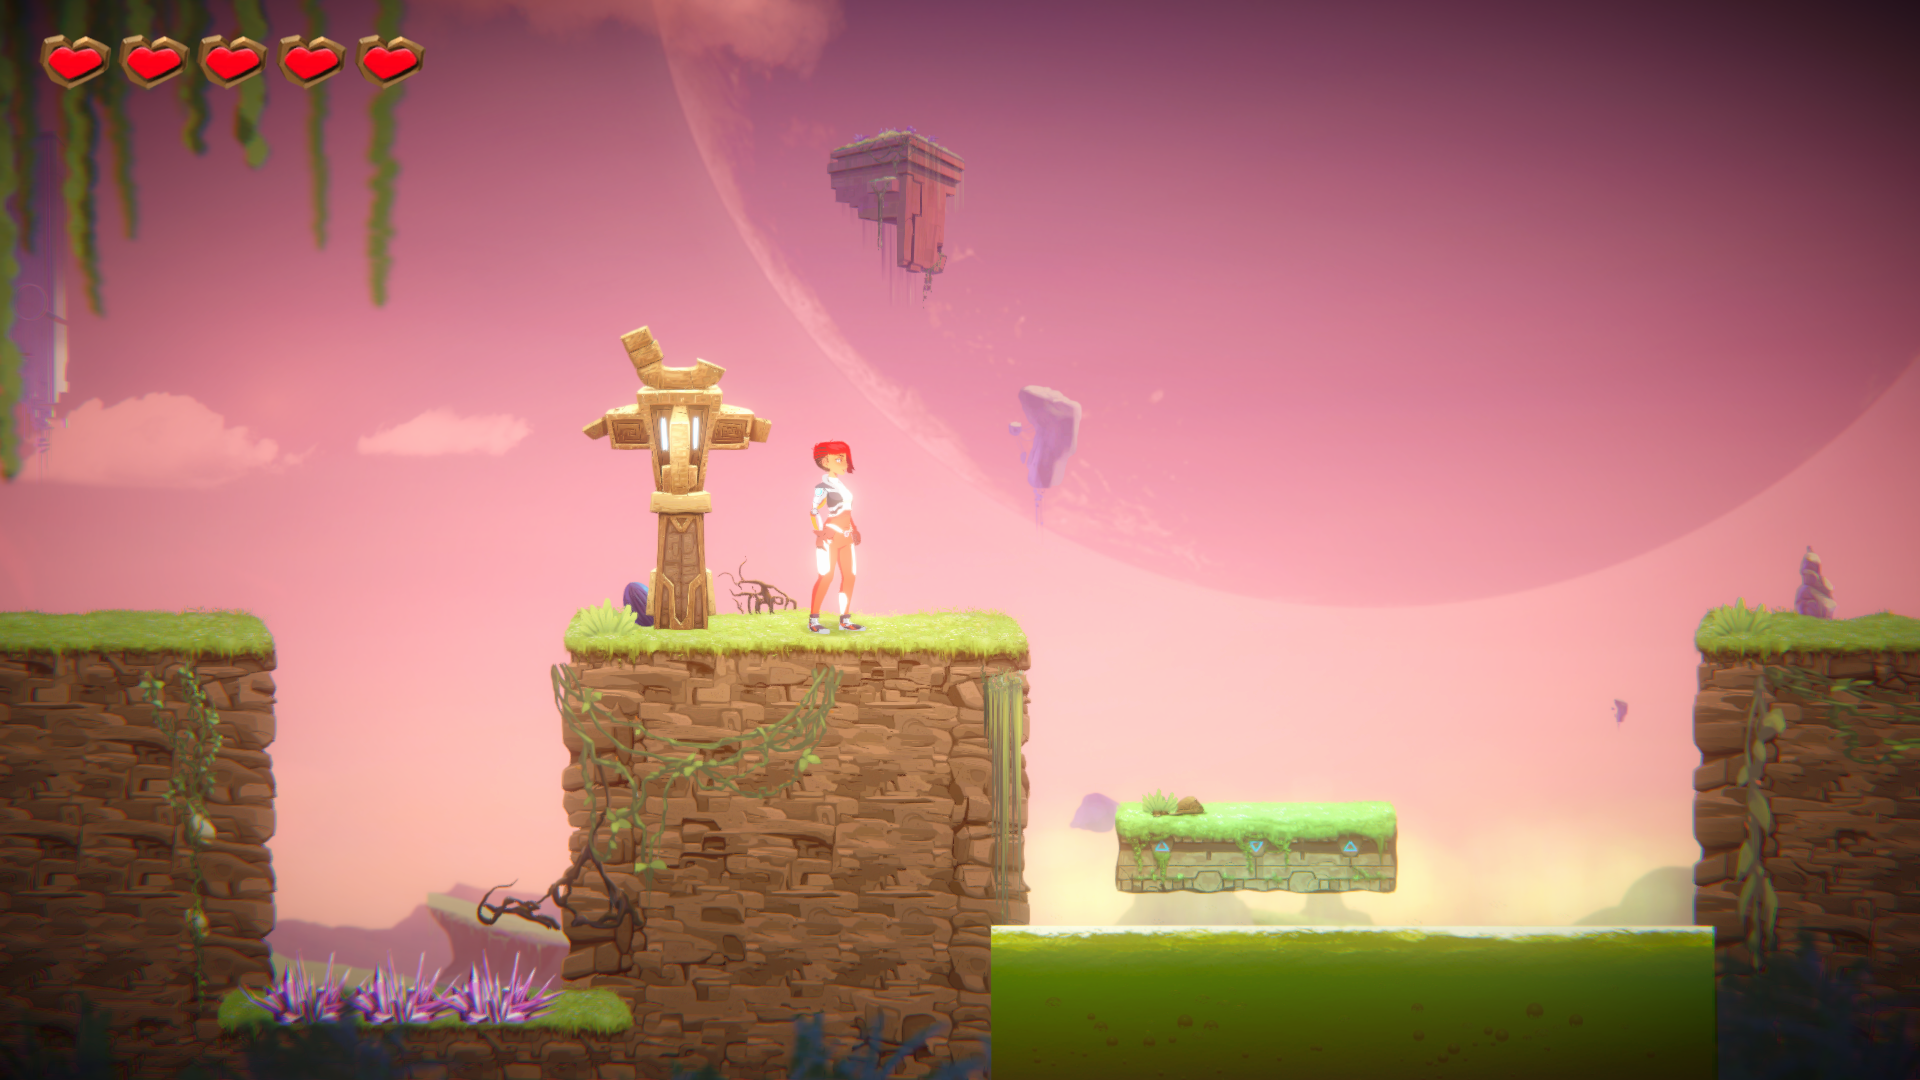
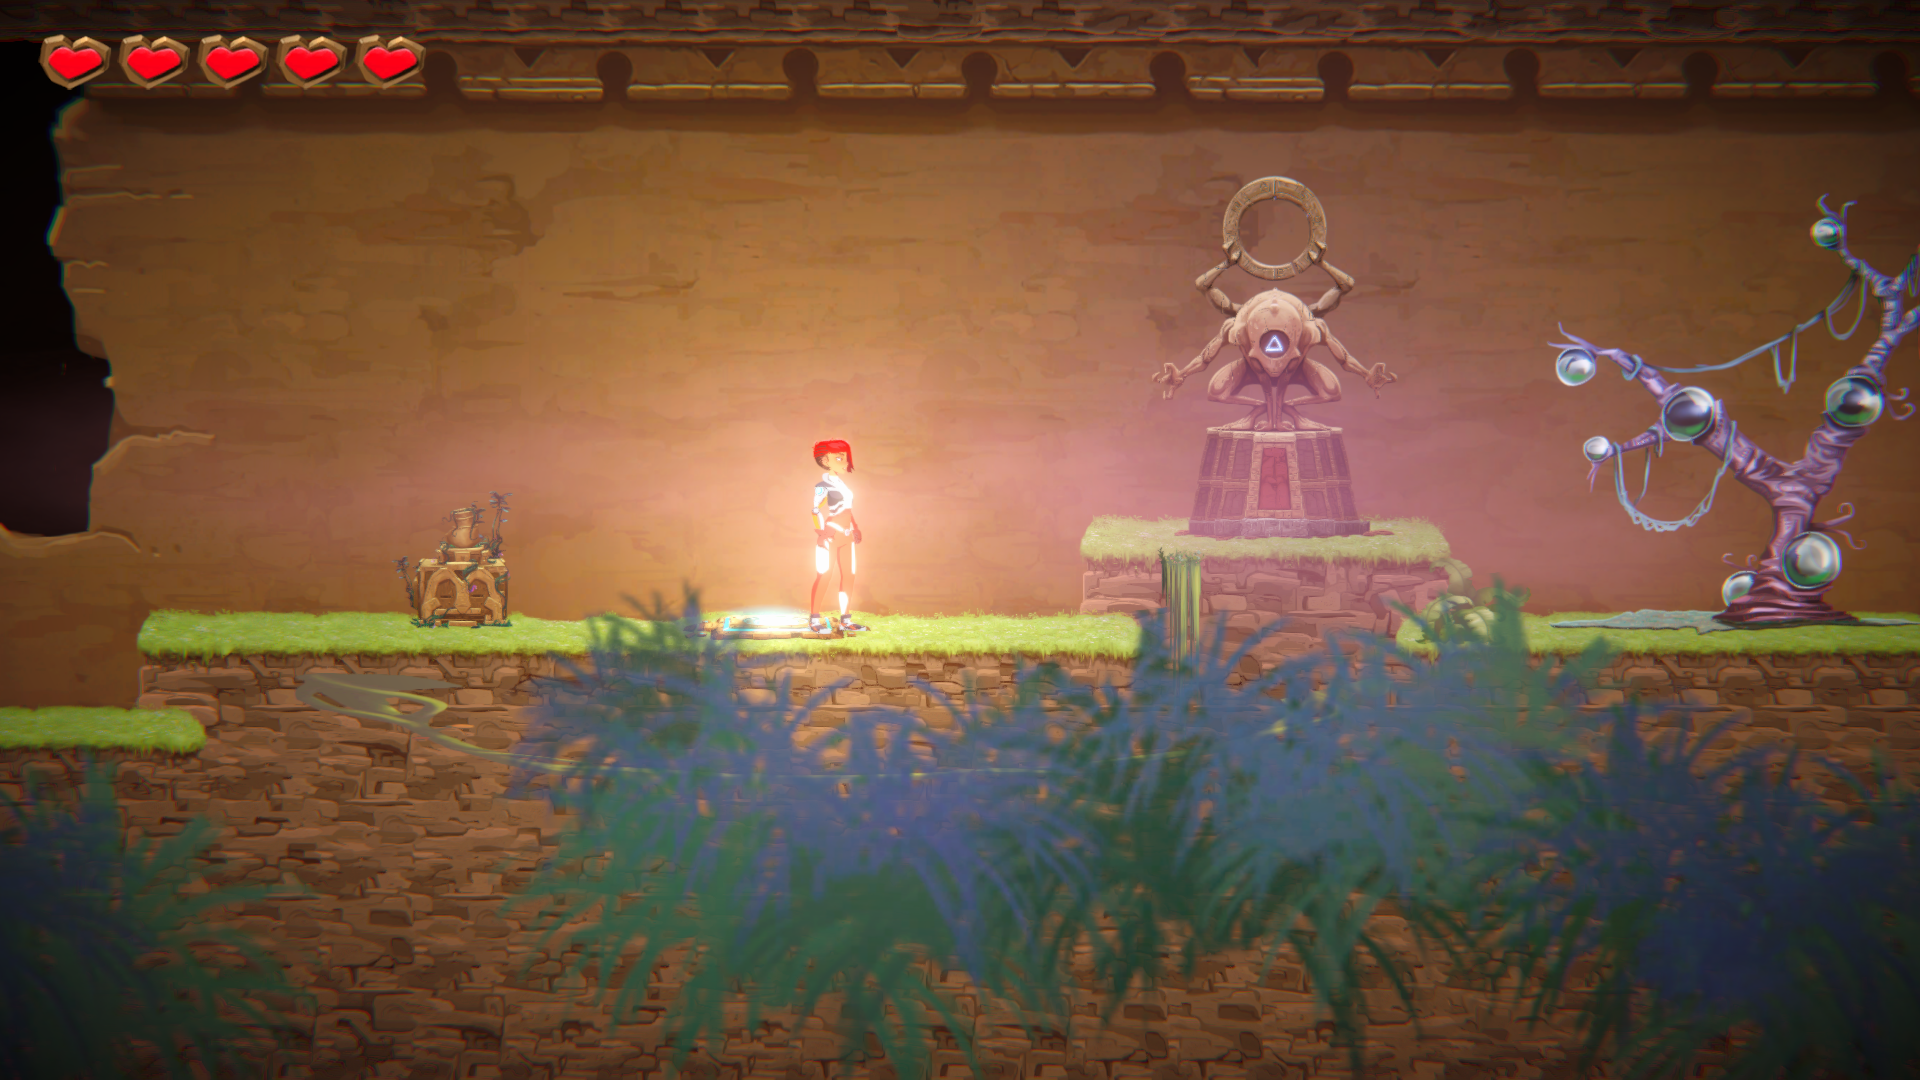
To set the final teleportation point, I created a second scene. It was just a skeleton without any obstacles, enemies, etc.
Invested hours:
• Tutorial: 54 min
• Decoration: 2h 48 min
• Some searching: 30 min
⎯⎯⎯⎯⎯⎯⎯⎯⎯⎯⎯⎯⎯⎯⎯⎯⎯⎯⎯⎯⎯⎯⎯⎯⎯⎯⎯⎯⎯⎯⎯⎯⎯⎯⎯⎯⎯⎯⎯⎯⎯⎯⎯⎯⎯⎯⎯⎯⎯⎯⎯⎯⎯⎯⎯⎯⎯⎯⎯⎯⎯⎯⎯⎯⎯
Date: 6.3.2024
Activity:
⁃ Created and decorated "MyZone 2" for the second scene of the game
⁃ Built the Unity project
Notes:
On the third day, I created completely "MyZone 2" using everything that I had learned in the tutorial: Moving objects, interaction with the environment, etc.
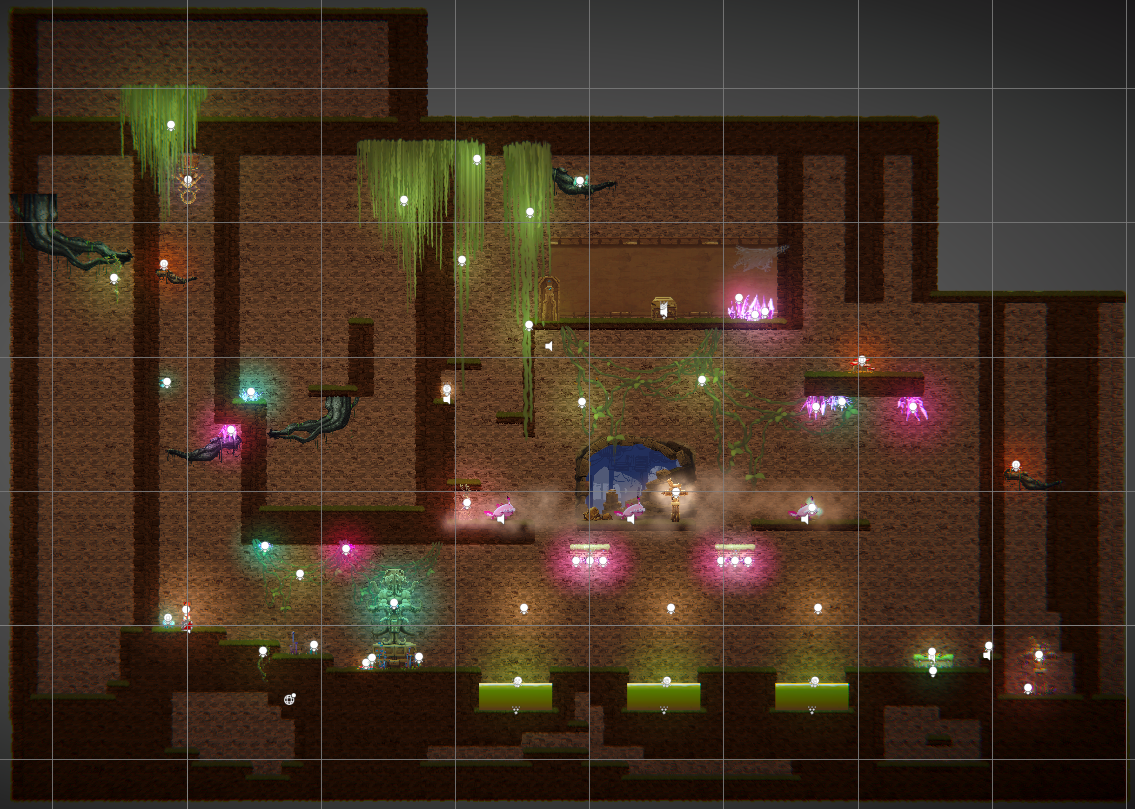
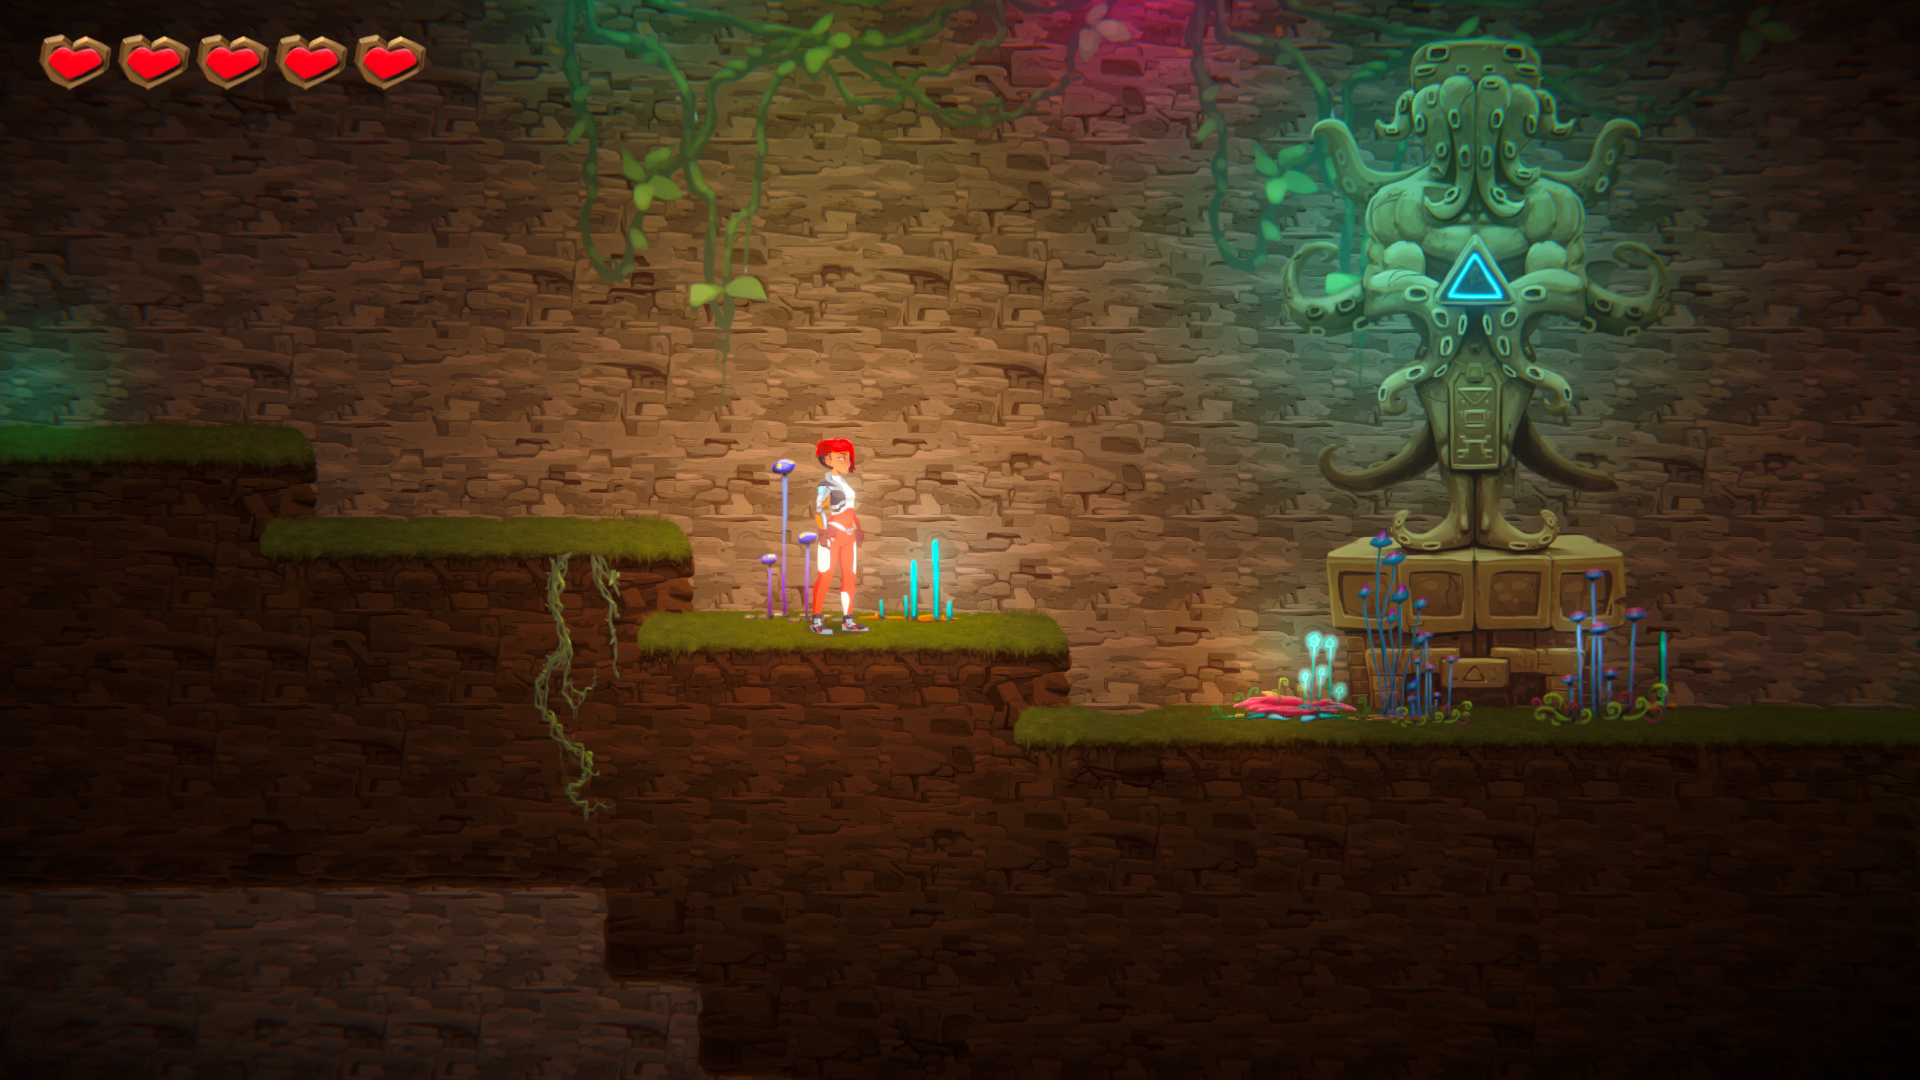
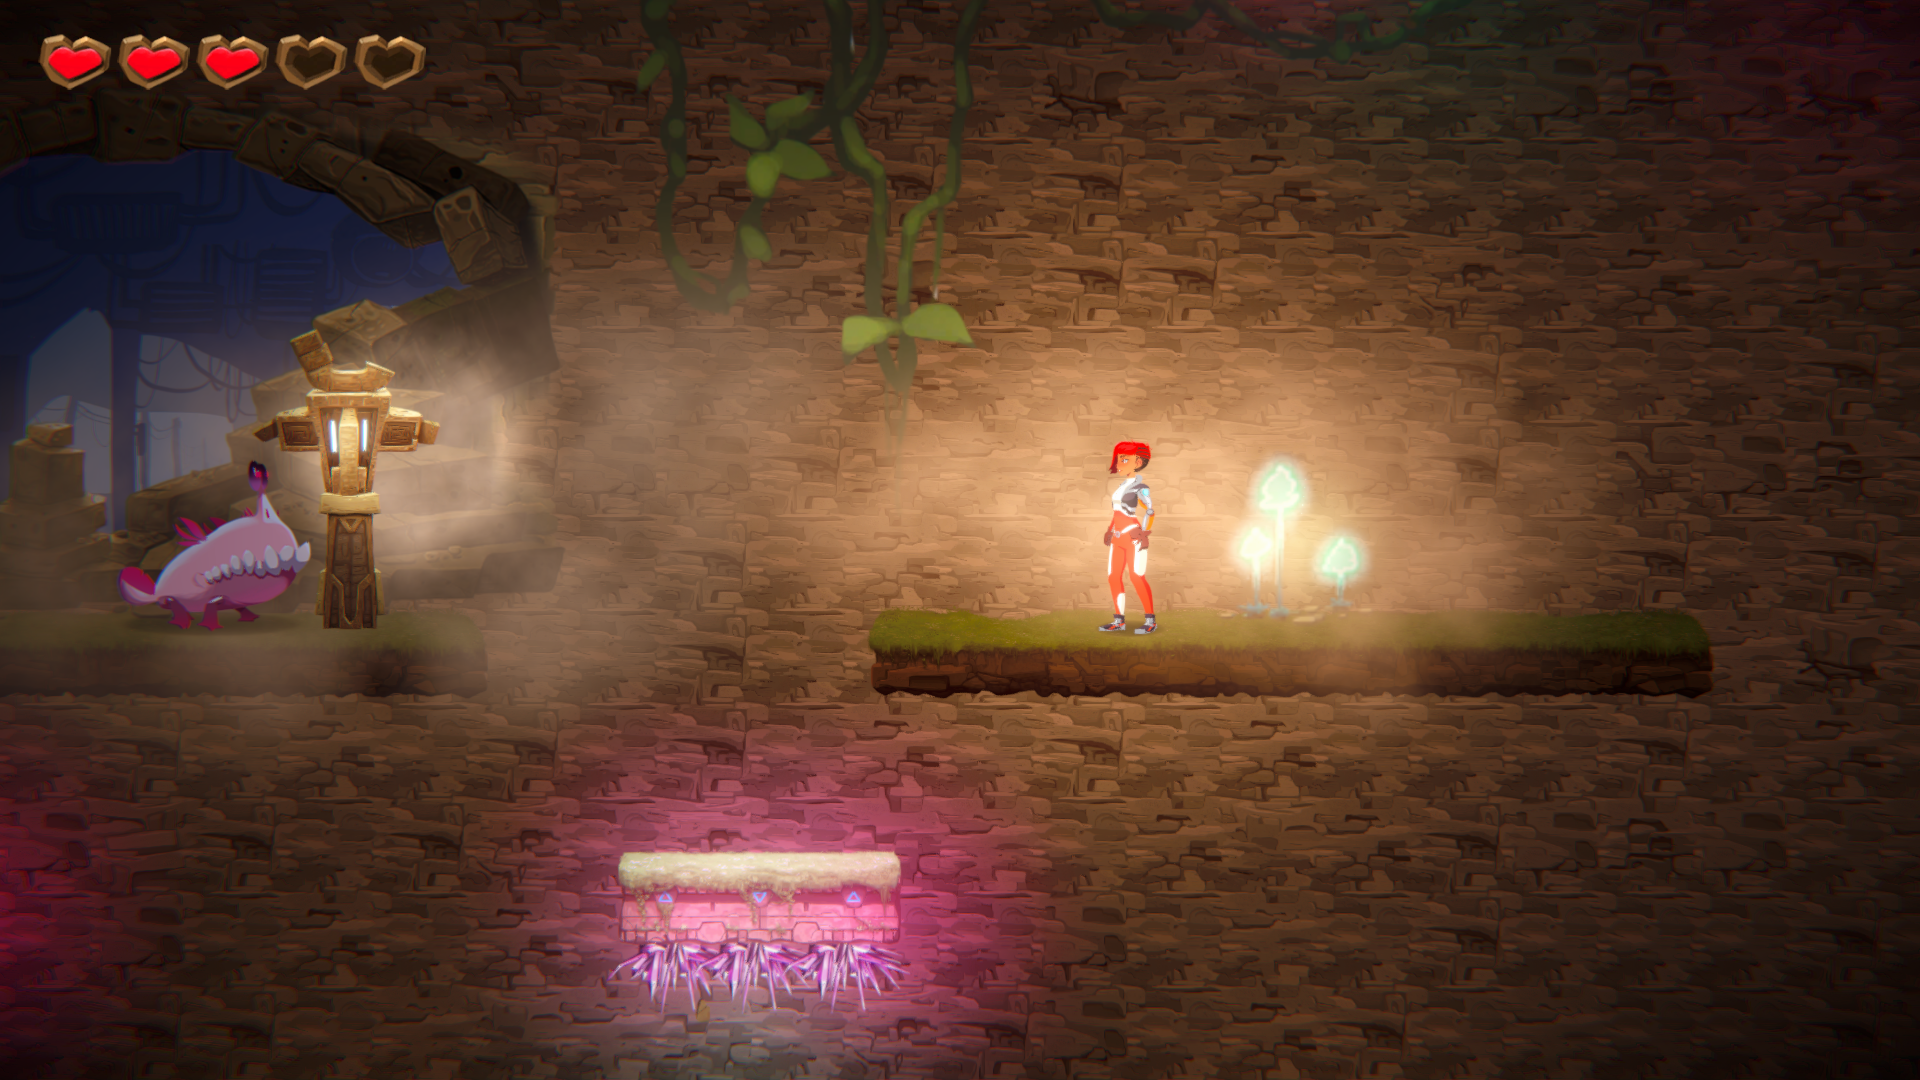
- "MyZone 2"
I learned how to arrange both the Global lighting of the entire scene and the spotlighting of certain objects. I also learned how to update the heart after the character has received damage. It was done as follows: I selected Ellen and found the Damageable component, next I found On Health Set, and for the HealthCanvas object I did HealthUI.ChangeHitPointUi.
The second thing I've learned is how to run MovingPlatform using PressurePad. This was done as follows:
I placed the platform and a PressurePad on top of it. In the Inspector for Pad, I found the Pressure Pad component and in the On Pressed() section, I did the following:
- Set the function (SpriteRender.sprit) PressurePad_0 to (Runtime Only) PressurePadGameObj;
- Set the function (MovingPlatform.StartMoving) to (Runtime Only) MovingPlatformGameObj;
Also, I added action on On Release():
- Set the function (SpriteRender.sprit) PressurePad_1 to (Runtime Only) PressurePadGameObj;
- Set the function (MovingPlatform.StopMoving) to (Runtime Only) MovingPlatformGameObj;
The third is how to return the MovingPlatform to its initial position if it stays on top. I used ReusableSwitch. In the Inspector for ReusableSwitch, I found the Interact On Trigger2D component and in the On Enter() section did this:
- Set the function (SpriteRender.sprit)Switch_1 to (Editor and Runtime) ReusableSwitchObj;
- Set the function (MovingPlatform.ResetPlatform) to (Editor and Runtime) MovingPlatformGameObj;
Also, I added action on On Exit():
- Set the function (SpriteRender.sprit) Switch_0 to (Runtime Only) ReusableSwitchObj;
Fourth, how to open the door by interacting with a SingleUseSwitch. In the Inspector for Switch, I found the Interact On Trigger2D component and in the On Enter() section did this:
- Set the function (SpriteRender.sprit)Switch_1 (Editor and Runtim) SingleUseSwitchGameObj;
- Set the function (Animator.Play) DoorOpening (Runtime Only)DoorGameObj;
Fifth, how to create a cave hole on the back wall of the game. To do this, I found an image of the shape of the cave that I wanted to use. Next, I added a Sprite Mask component to the Inspector of this object, in which I configured the Sprite for the desired hole shape. Next, I added a background picture and adjusted it so that it could be seen through the cave. I found the Interaction Mask in the Inspector of this object and set it to Visible Outside Mask. That's how I got a hole in the back wall of my stage.
Invested hours:
• Creating "MyZone 2": 9h 27 min
• Build of project: 5 min
Outcome:
WindowsBuild (uploaded to the itcho.io page as a .zip file)
Files
Get Project T
Project T
mff-gdintro-2024-t
More posts
- Journal Entry JuicinessMay 05, 2024
- Journal Scripting Walkthrough 2Mar 31, 2024
- Journal Scripting WalkthroughMar 24, 2024
- Journal Entry 1Feb 29, 2024
Leave a comment
Log in with itch.io to leave a comment.