Journal Scripting Walkthrough
Part 1
Date: 21.3.2024
Activity:
⁃ I made a tutorial for creating my bullet for 2D Game Kit Asset:
-> Worked with Transform, SpriteRenderer methods
-> Worked with common methods of MonoBehaviour: Start, Update, OnCollisionEnter
-> Worked with basic constructs: getting components, destroying objects, instantiation of Prefabs, layers, creating game objects and adding components
-> Worked with RigidBody2D, Colliders
-> Worked with Usage of Time.deltaTime
-> Worked with Handling input
⁃ Spawn the bullet near the playable character
⁃ Change the direction of the bullet depending on the trajectory of the character's gaze
Notes:
To create own bullets, it was necessary to prepare the scene. First, removing unnecessary components from the Inspector and unnecessary game objects from the Hierarchy was necessary.
When everything was prepared, I began the creation process. First, I wrote a custom script for bullet control. For this, I created aт empty game object representing the bullet. Next, in the Inspector of this object, it was necessary to add a Sprite Renderer component in which the sprite and material needed to be configured to Bullet. Then, for the new component controlling the bullet's behavior, I had to create a script called BulletController. After opening this script, I added one line code part to the Start() function, implementing bullet movement using the speed constant, which could be adjusted from the Inspector, and the velocity of Rigidbody2D. To achieve this, it was necessary to add physics behavior to the bullet. This can be done by adding the Rigidbody2D component in the object's Inspector. Then, a formula could be written in the Start() function to calculate the bullet's movement speed. It was also necessary to make the bullet disappear upon collision with various vertical surfaces. The Collider2D component came in handy for this. Modifications were required for each of these two new components. These include:
1) Adding the Rigidbody2D component, changing Gravity Scale to 0, checking the Freeze Rotation Z option in the Constraints to disable rotation.
2) Adding the CapsuleCollider2D component, setting Direction to Horizontal, Size to 0.85 and 0.25, Offset to 0 and 0.01.
To detect collisions between two objects, it was necessary to add a new layer of objects. So, I added only the bullet to the BulletDevice layer and in the Project Settings adjusted Physics 2D → Layer Collision Matrix so that this new layer can intersect with all layers but not with itself. To detect collisions, I had to implement a new OnCollisionEnter2D() method, which destroys the bullet if it collides with something. Additionally, I had to add the OnBecameInvisible() method to destroy the bullet if it gets outside of the screen. This script was added to the bullet object as a component.
I created a Prefab out of the bullet so I can use it as a template later. Naturally, I needed to learn how to shoot using keys on the keyboard. Therefore, I created a script called Shooting which will handle shooting, and attached it to the character object. In this script, I added code to detect if the player pressed the H key down. Then, I passed the Bullet Prefab into the script through a public field and instantiated it every time the H key was pressed. Next, I encountered an issue. I needed to make the bullet fly in the direction the character was facing. To achieve this, I used the FacingLeftBulletSpawnPoint and FacingRightBulletSpawnPoint of the playable character and adjusted the movement direction of the bullet correctly. I passed this information into the script through a public field. Additionally, I needed to flip the sprite using positions for spawning bullets and SpriteRenderer.flipX.
Next, I learned how to create a variety of bullets. I did this as follows: Right-click in the Project window → Create → Bullet → BulletVariant. I did this three times and got 3 types of bullets: Fast Bullet, Medium Bullet and Slow Bullet. Then changed their speed in the Inspector (Fast Bullet speed = 22; Medium Bullet = 15; Slow Bullet speed = 7). I modified the BulletController script by adding a method SetBulletVariant() to accept a ScriptableObject and use its values correctly. In this part, it was necessary to change the speed of the bullet depending on the type of bullet. Also, It was necessary to delete the line written in the Start() function, which could not allow the implementation of different speeds for different bullets. Then, I made some changes to the Shooting script by adding a List of bullet variants which were passed into the script through a public field and chosen randomly when shooting. Bullet variants can be configured in the Inspector.
After all these actions, the character was able to shoot various types of bullets.
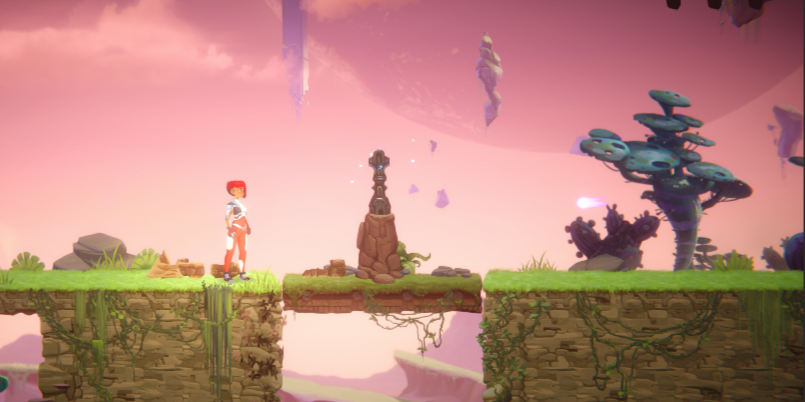
- Fast Bullet
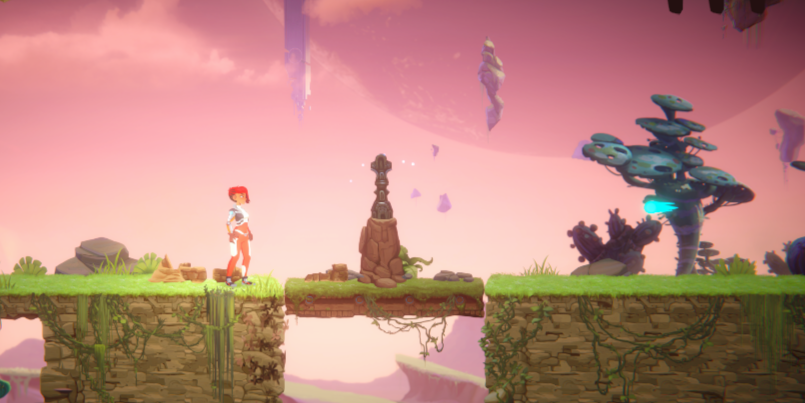
- Medium Bullet
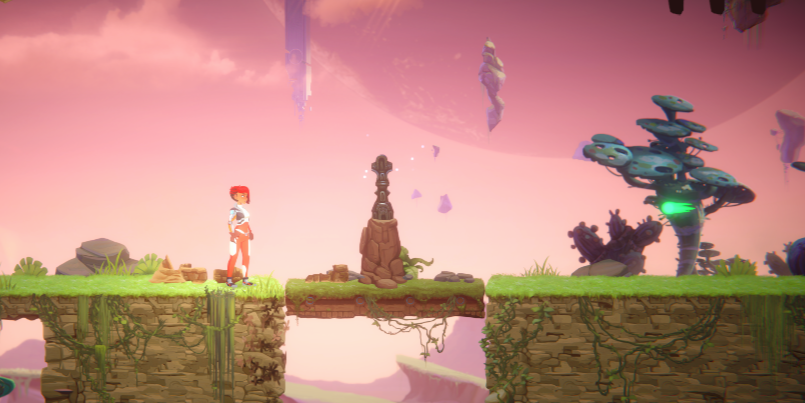
- Slow Bullet
Invested hours:
⁃ Creating my own bullet & scripts: 3h 59 min
⎯⎯⎯⎯⎯⎯⎯⎯⎯⎯⎯⎯⎯⎯⎯⎯⎯⎯⎯⎯⎯⎯⎯⎯⎯⎯⎯⎯⎯⎯⎯⎯⎯⎯⎯⎯⎯⎯⎯⎯⎯⎯⎯⎯⎯⎯⎯⎯⎯⎯⎯⎯⎯⎯⎯⎯⎯⎯⎯⎯⎯⎯⎯⎯⎯
Part 2
Date: 22.3.2024
Activity:
⁃ I made a tutorial for writing my column that can collapse for 2D Game Kit Asset:
-> Worked with common methods of MonoBehaviour: Start, Update, OnCollisionEnter
-> Worked with basic constructs: getting components, destroying objects, instantiation of Prefabs, layers, creating game objects and adding components
-> Worked with RigidBody2D, Colliders
⁃ Destroy the column after shooting
⁃ The use of force for the spectacular destruction of the column
Notes:
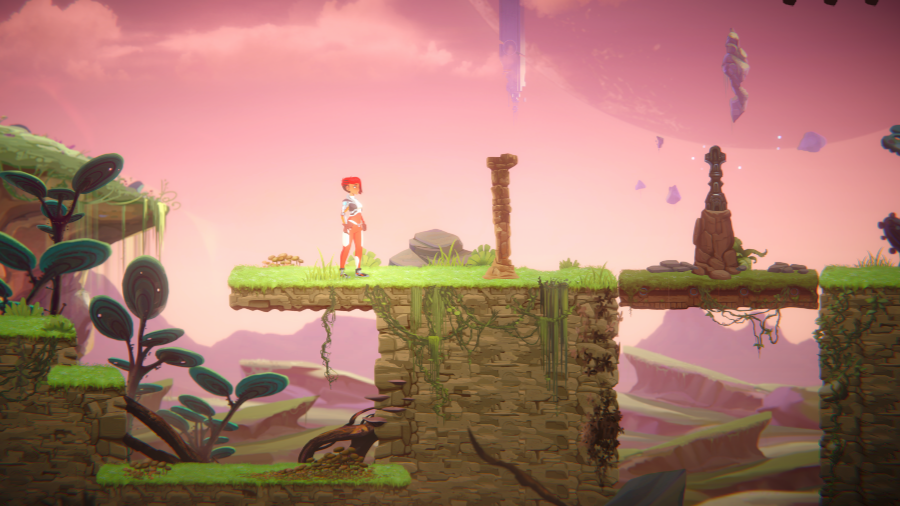
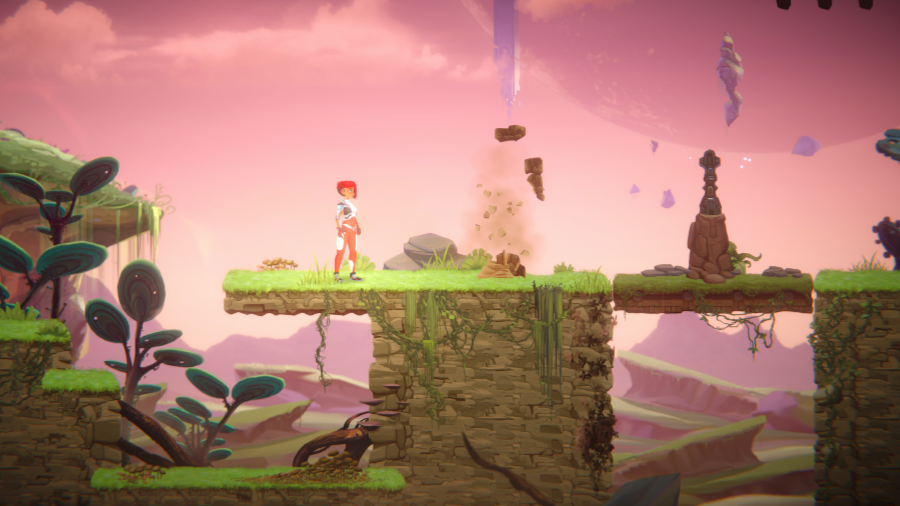
In this part, I wanted to learn how to write my script for destroying objects. I practiced on the DestructibleColumn object. To do this, I had to create a prefab variant of DestructibleColumn. Creating a Prefab variant: Right-click on the Prefab in the Project window → Create → Prefab Variant. The column already contains a behavior for falling apart, but I wanted to implement it myself. So, I removed the Damageable component from the DestructibleColumn_Whole object. Next, I wanted to destroy the entire column after shooting at it. For this purpose, I created a new script component called DestructibleColumn_Whole and placed it in DestructibleColumn_Whole object in Inspector. In this script, I added code that reacted to collisions with something and determined if it was a bullet, and broke the column into pieces after the collision with the bullet. For this purpose, I created the OnCollisionEnter2D() function. Additionally, I needed to add a public GameObject columnParts, which represent the DestructibleColumn_Broken (inactive, containing individual parts of a broken column). After this, I could test if the column can break.
Everything was working, the column was breaking apart, but I could make it even more interesting. I applied forces to the individual parts of the column. For this, I created a new script component called DestructibleColumn_Broken and attached it to the DestructibleColumn_Broken object. In this code, I created a new public method Break(), in which for each broken part of the column, I applied force using Rigidbody2D.AddForce(Vector2 force, ForceMode2D mode). Then, in the DestructibleColumn_Whole script, in the OnCollisionEnter2D() method, I called columnParts.GetComponent<DestructibleColumn_Broken>().Break(collision.GetContact(0).point) for the individual part of the column that contacts the bullet. Furthermore, for a more interesting destruction effect, I added forces acting on each part depending on the position from which the player shoots. To make the force dependent on the point of contact, I computed the vector between the contact point (from the collision parameter, collision.GetContact(0).point) and the world position of the column part (child.position). Then, I normalized it and used it as force (multiplied by a magnitude = 20).
After all these steps, the column breaks and shatters into pieces after being shot at.
Invested hours:
⁃ Creating my column & scripts: 1h 35 min
Outcome:
ScriptingWalkthrought (uploaded to the itcho.io page as a .zip file)
Files
Get Project T
Project T
mff-gdintro-2024-t
More posts
- Journal Entry JuicinessMay 05, 2024
- Journal Scripting Walkthrough 2Mar 31, 2024
- Journal Entry 2Mar 08, 2024
- Journal Entry 1Feb 29, 2024
Leave a comment
Log in with itch.io to leave a comment.